ASUS ChromeBook C302c Flip
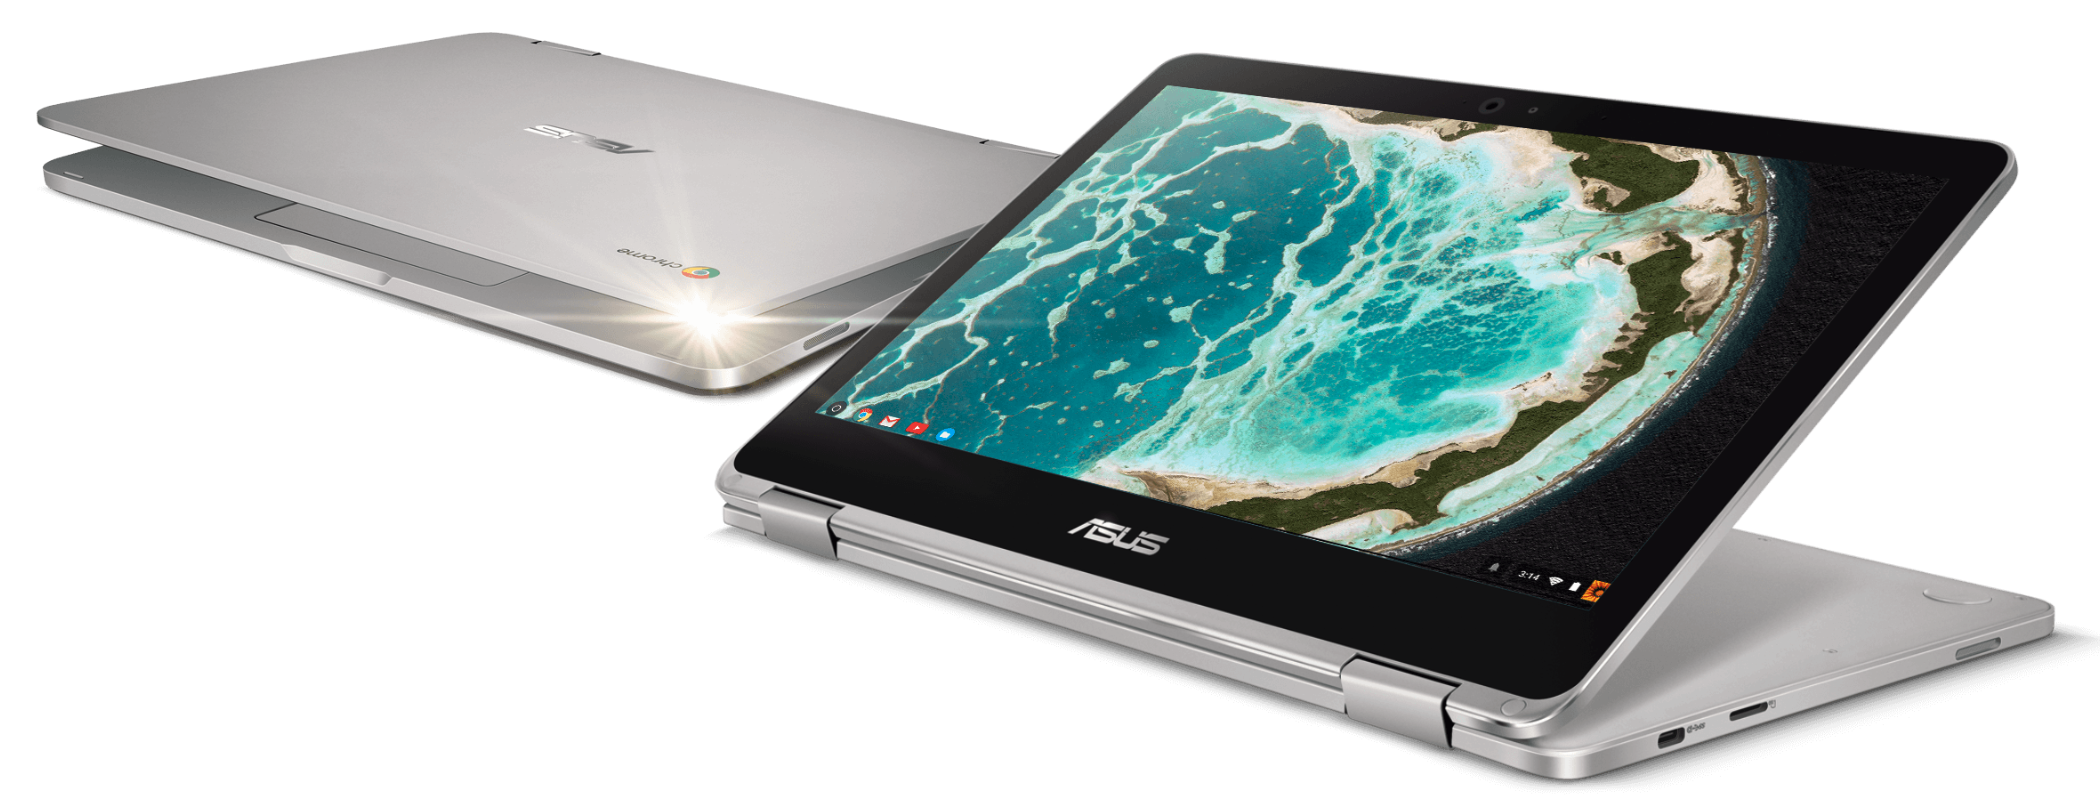
This lovely little machine was brought into the repair café completely non-functional. A fault on the motherboard had been diagnosed by a local computer repair shop.
Identifying and replacing the faulty component would have cost over £200 – more than a new Chromebook.
We decided to take a different approach, replacing the mainboard and the battery (which was also non-functional).
A replacement board was sourced from eBay, and a battery from Laptop and Spares (https://www.laptopsandspares.com)
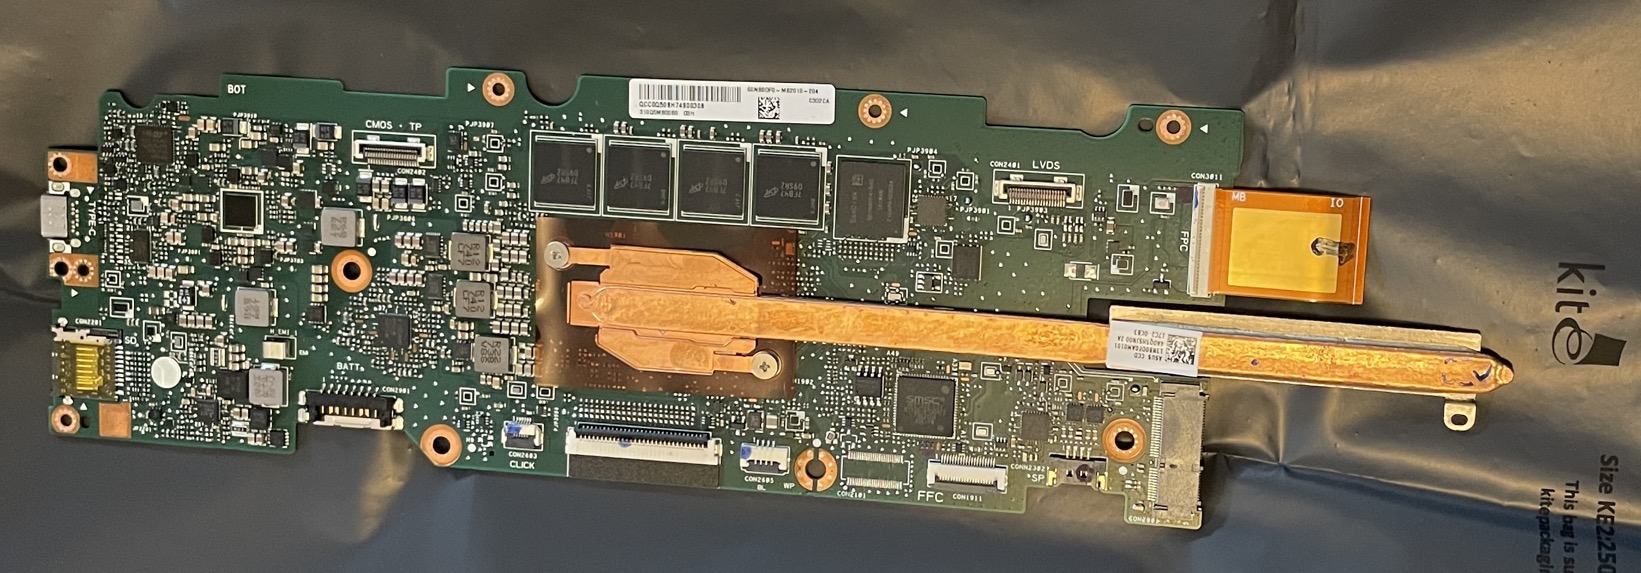
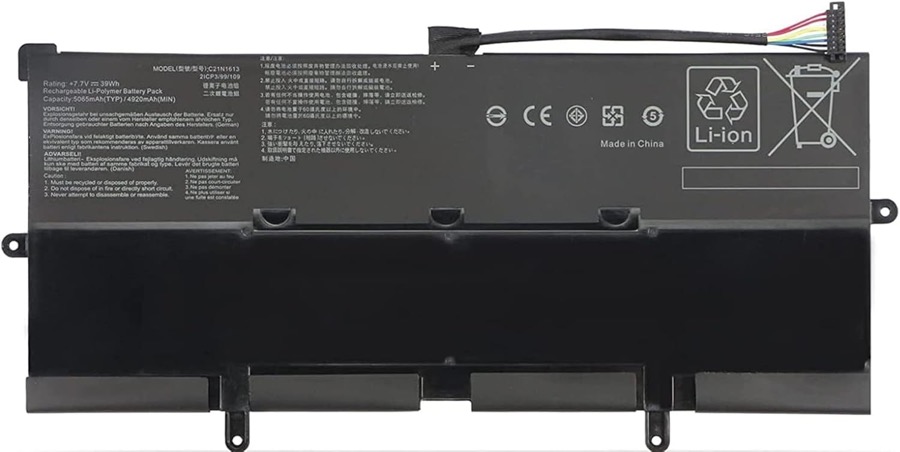
Total cost = £60
The replacement board brought the Chromebook back to life, at which point we discovered it was too old to receive OS updates.
This left two options – use it with outdated software, potentially introducing security risks, or install Linux Mint, a free, modern, and up-to-date operating system.
This required a little bit more work, but the challenge was certainly worth it.
The steps included: -
1. Preparing the Linux Mint Boot Drive
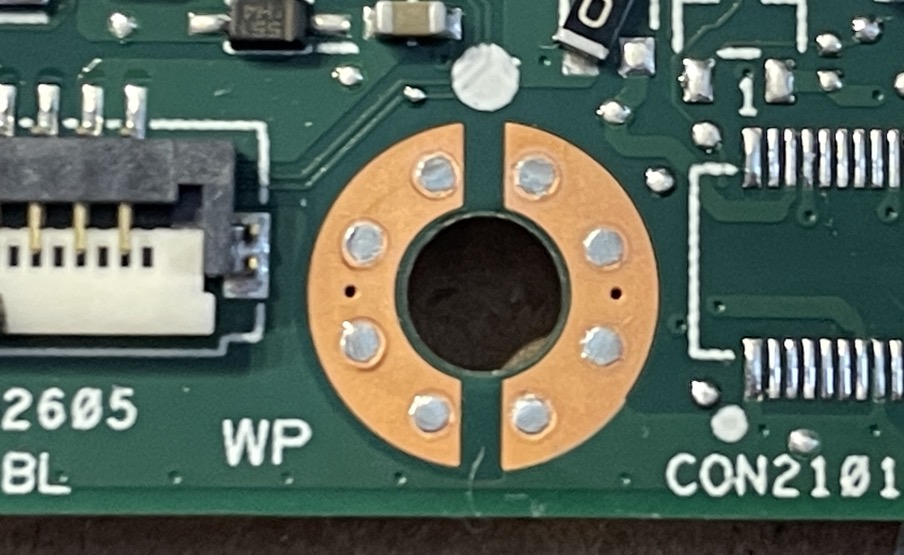
2. Locating and removing the Write-Protect Screw*
3. Booting the Chromebook into Developer mode
4. Flashing the Firmware to install a UEFI-compatible boot ROM from MrChromeBox
5. Booting from the Linux USB and installing the new OS.
Obviously, it’s not quite that simple, but basically, this is the process.
Once complete, the newly minted Chromebook functioned superbly, with one exception.
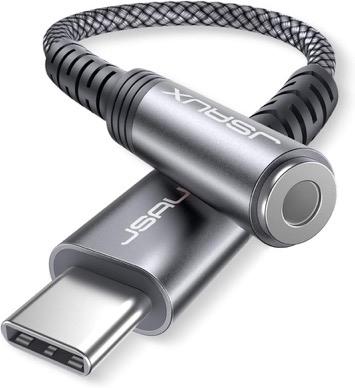
Due to a hardware incompatibility, the audio drivers would not function, and despite extensive searches, this proved to be a sticking point.
The end result: a fully working touchscreen Mint Chromebook for significantly less than buying a new device.
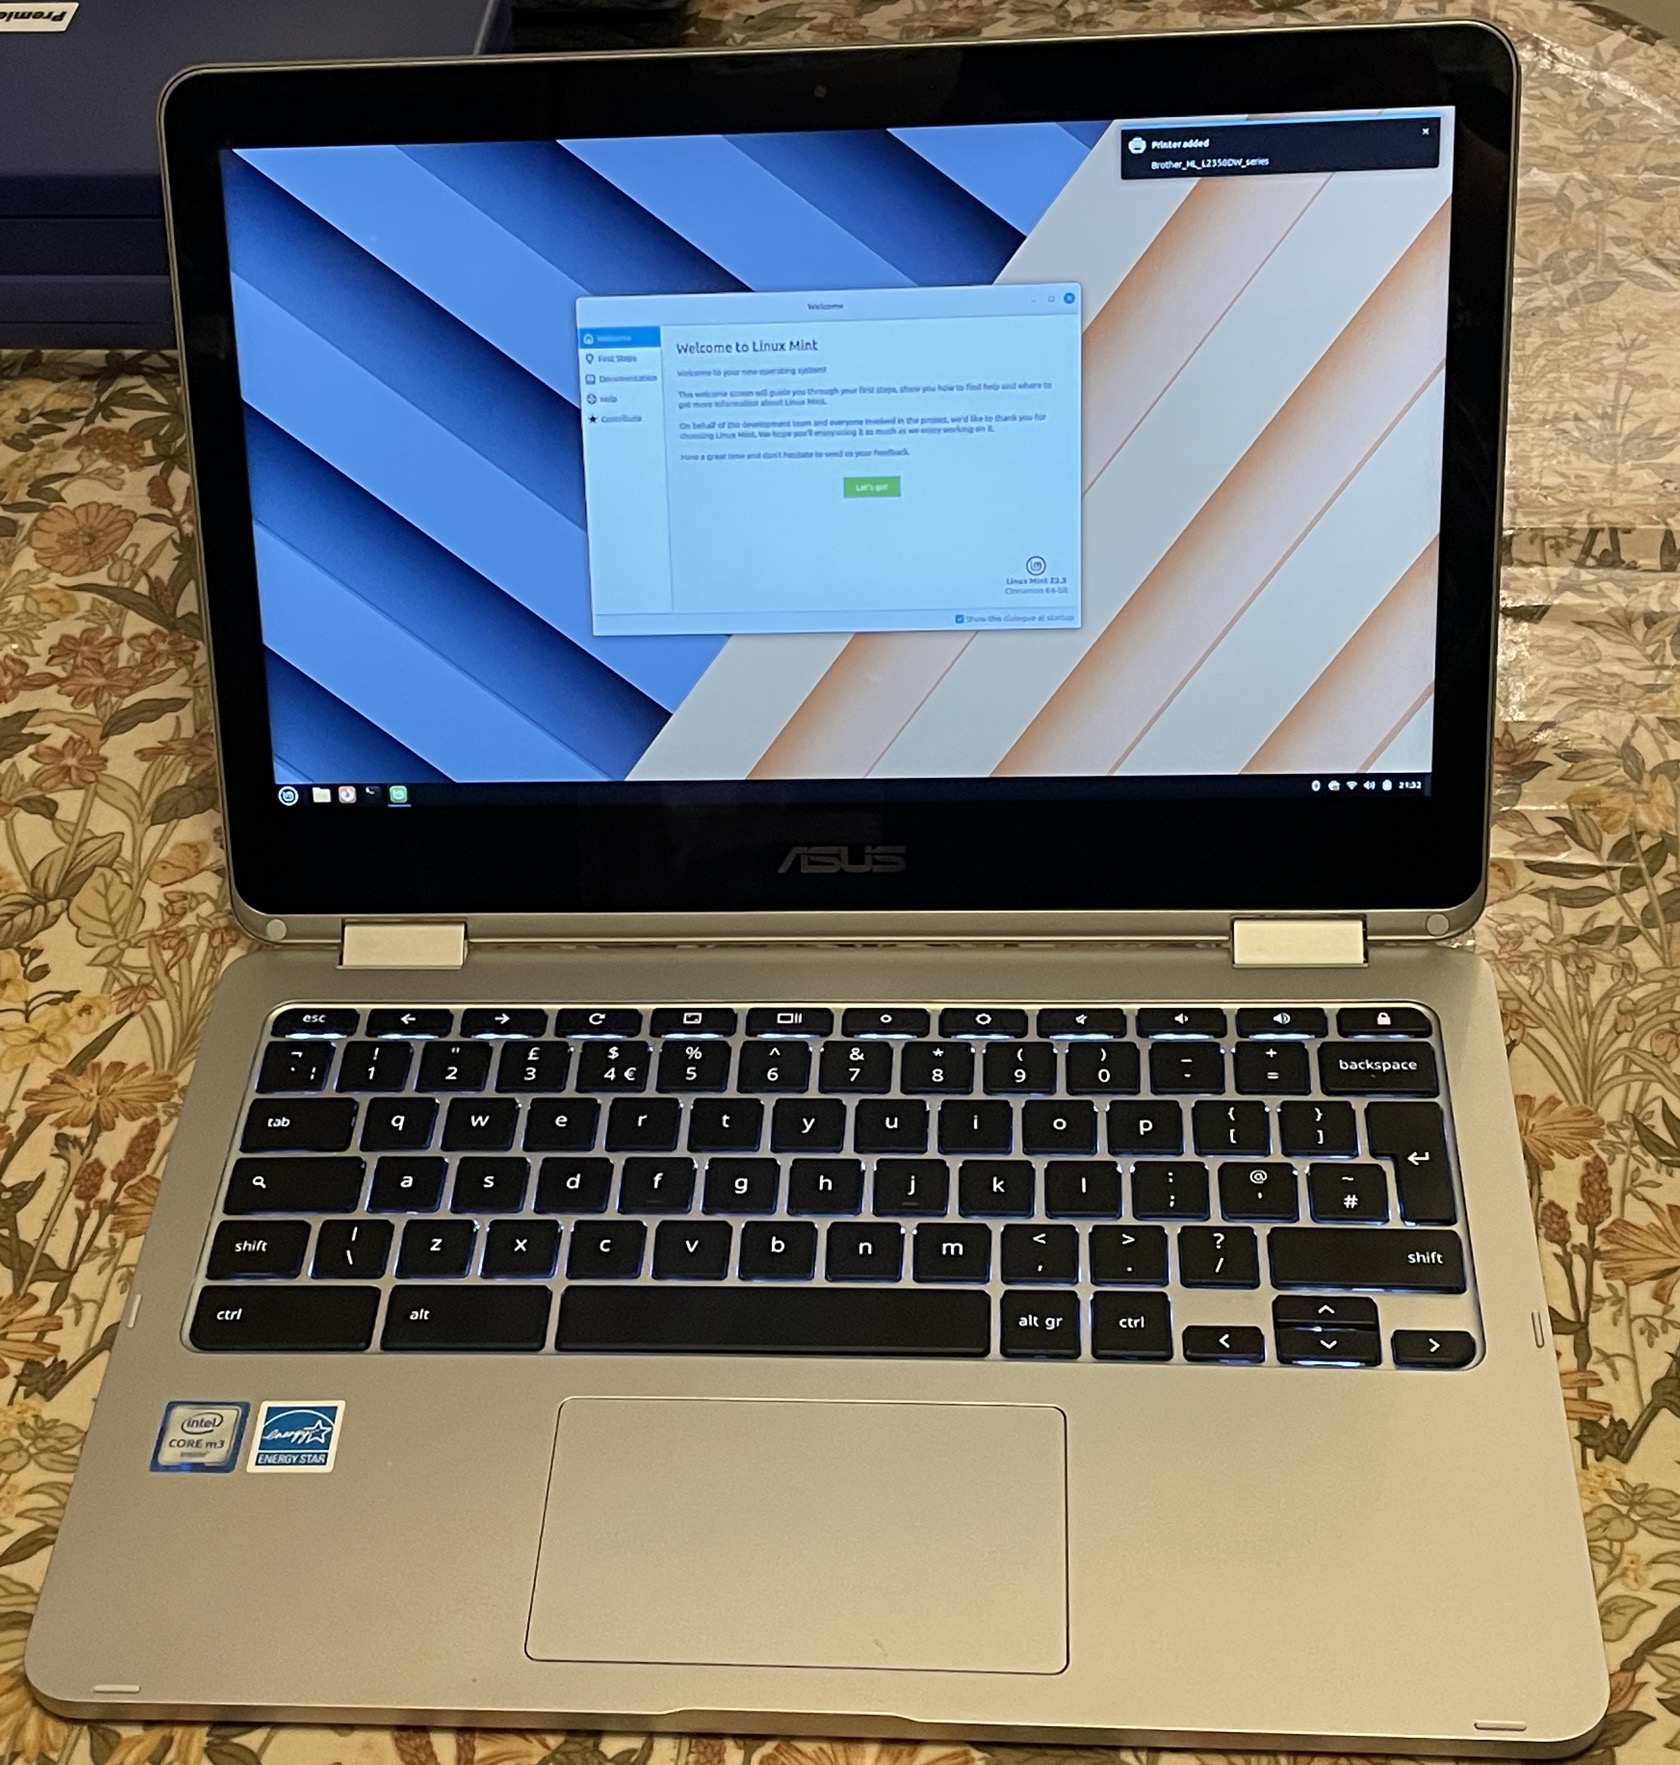
The full process is below.
Installing Linux Mint on a Chromebook via USB
Installing Linux Mint on a Chromebook via USB requires enabling Developer Mode, flashing custom UEFI firmware (via MrChromebox script), and booting from a prepared Mint USB drive. This process replaces ChromeOS, allowing a full Linux experience. Crucial: Back up data, as this wipes the device and may break hardware compatibility.
Phase 1: Prepare the USB Drive
- Download Linux Mint: Download the ISO (Cinnamon, MATE, or XFCE) from the official website.
- Create Bootable USB: Use a tool like BalenaEtcher or Rufus on a computer to flash the ISO onto a USB drive (16GB+ recommended).
Phase 2: Install Linux Mint
- Enter Developer Mode: Turn off your Chromebook. Hold Esc + Refresh and tap the Power button. At the warning screen, press Ctrl + D, then press Enter to confirm. Note: This wipes all local data.
- Enable USB Booting: Once in Developer Mode, boot up and at the white screen, press Ctrl + D to skip.
- Flash Firmware (MrChromebox):
- Ensure the write-protect screw is removed – This can be found near the battery connector.
- Open the terminal (Ctrl+Alt+T), type shell, and press Enter.
- Run the following command to install full ROM firmware (requires removing the write-protect screw on older models):
cd; curl -LO mrchromebox.tech/firmware-util.sh && sudo bash firmware-util.sh.- Select the option to install UEFI (Full ROM) Firmware.
- Boot from USB:
- Shut down. Insert your Linux Mint USB drive.
- Power on and press Esc or F2 when the bunny logo (or MrChromebox screen) appears to enter the boot menu.
- Select your USB drive.
- Boot and install Mint.